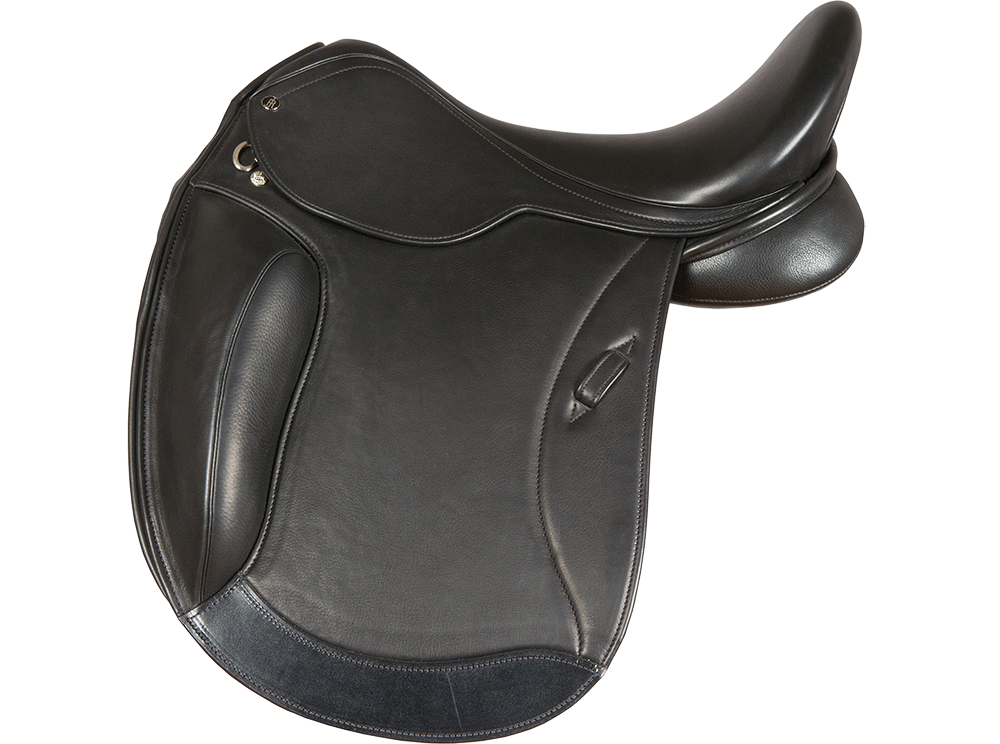
Our saddles are entirely handmade and there are eight key stages to making a Jeremy Rudge ‘made to measure’ saddle.
Each tree is tested for dimensional accuracy and symmetry. Our philosophy is that it is the fit of the tree – the internal frame on which the saddle is built – that determines overall saddle fit.
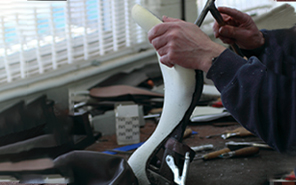
Once the optimum tree has been selected it is ‘webbed up.’ The seat of a saddle is perhaps best described as a tight hammock. As a rider you are not sitting on the tree but rather you are supported just above it. The webs are the base of the seat and create the “hammock”.
Then the ‘soft’ part of the seat is made. The picture shows the white top layer of open cell foam. A seat can have several layers made from selected rubbers and foams to create tailor-made shapes and levels of softness.
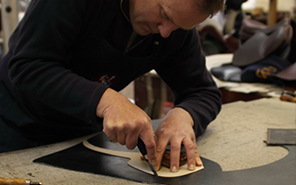
At the same time, the leather parts that go to make up the saddle are cut out and prepared. Soft hide leather is used for the panels and pads. Other parts, such as the flaps and skirts, are solid “butt” leather, which requires a finishing process on the edges. First an edge strip is used to round the corners and then they are stained and veined to colour match the leather and give a smart polished finish.
Next, the saddle skirts need holes for backing stitches. These “tunnel” like stitches attach the skirt to the skirt backing so that the seat and skirt can be attached to the tree. Also at this stage any edge of leather that will be joined to another is “taken down” or thinned so that any seam between two pieces of leather is neat and smooth. There is still a way to go yet by way of machining and assembly.
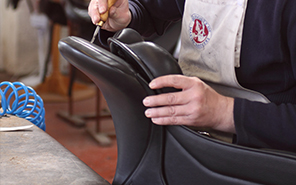
The next job before the panel can be turned is to complete the ‘casing.’ This is the hand sewing of the “facing” to create the round piping that you see down the front edge and around the back of the panel. Now we have a product that is starting to actually look like a saddle. The panel will now be turned the right way and have the sweat flaps on. The picture shows the panel being finished (inside out at this stage.)
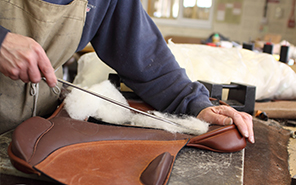
The last process with the panel is to “flock” and to stitch on the girth straps.
Finally the saddle is ‘laced’ together. This involves joining the two saddle halves together – the wool flock panel that touches the horse’s back is stitched to the top half (seat, skirts and flaps) that the rider sits on. The “lacing” stitches run over the arch of the pommel and around the back of the cantle. They are always hidden so the finished saddle looks neat and no joins are visible.
Each saddle is as individual as you and your horse.
This website uses cookies to improve your experience. We'll assume you're ok with this, but you can opt-out if you wish. Cookie settingsACCEPT
Privacy & Cookies Policy
Privacy Overview
This website uses cookies to improve your experience while you navigate through the website. Out of these cookies, the cookies that are categorized as necessary are stored on your browser as they are essential for the working of basic functionalities of the website. We also use third-party cookies that help us analyze and understand how you use this website. These cookies will be stored in your browser only with your consent. You also have the option to opt-out of these cookies. But opting out of some of these cookies may have an effect on your browsing experience.
Necessary cookies are absolutely essential for the website to function properly. This category only includes cookies that ensures basic functionalities and security features of the website. These cookies do not store any personal information.
Any cookies that may not be particularly necessary for the website to function and is used specifically to collect user personal data via analytics, ads, other embedded contents are termed as non-necessary cookies. It is mandatory to procure user consent prior to running these cookies on your website.